> For the complete documentation index, see [llms.txt](https://docs.glue.ai/llms.txt). Markdown versions of documentation pages are available by appending `.md` to page URLs; this page is available as [Markdown](https://docs.glue.ai/for-admins/manage-members.md).
# Manage members
## Overview
In your Workspace Settings menu under the Members tab, Admins have the ability to manage Glue membership in the following ways:
* Search for users to take actions
* Add a new user
* Resend an invite
* Cancel an invite
* Make a member an admin or downgrade an admin to a member
* Remove a user from the workspace
## **Add Users to the Workspace**
#### How to access the "Invite to Glue menu"
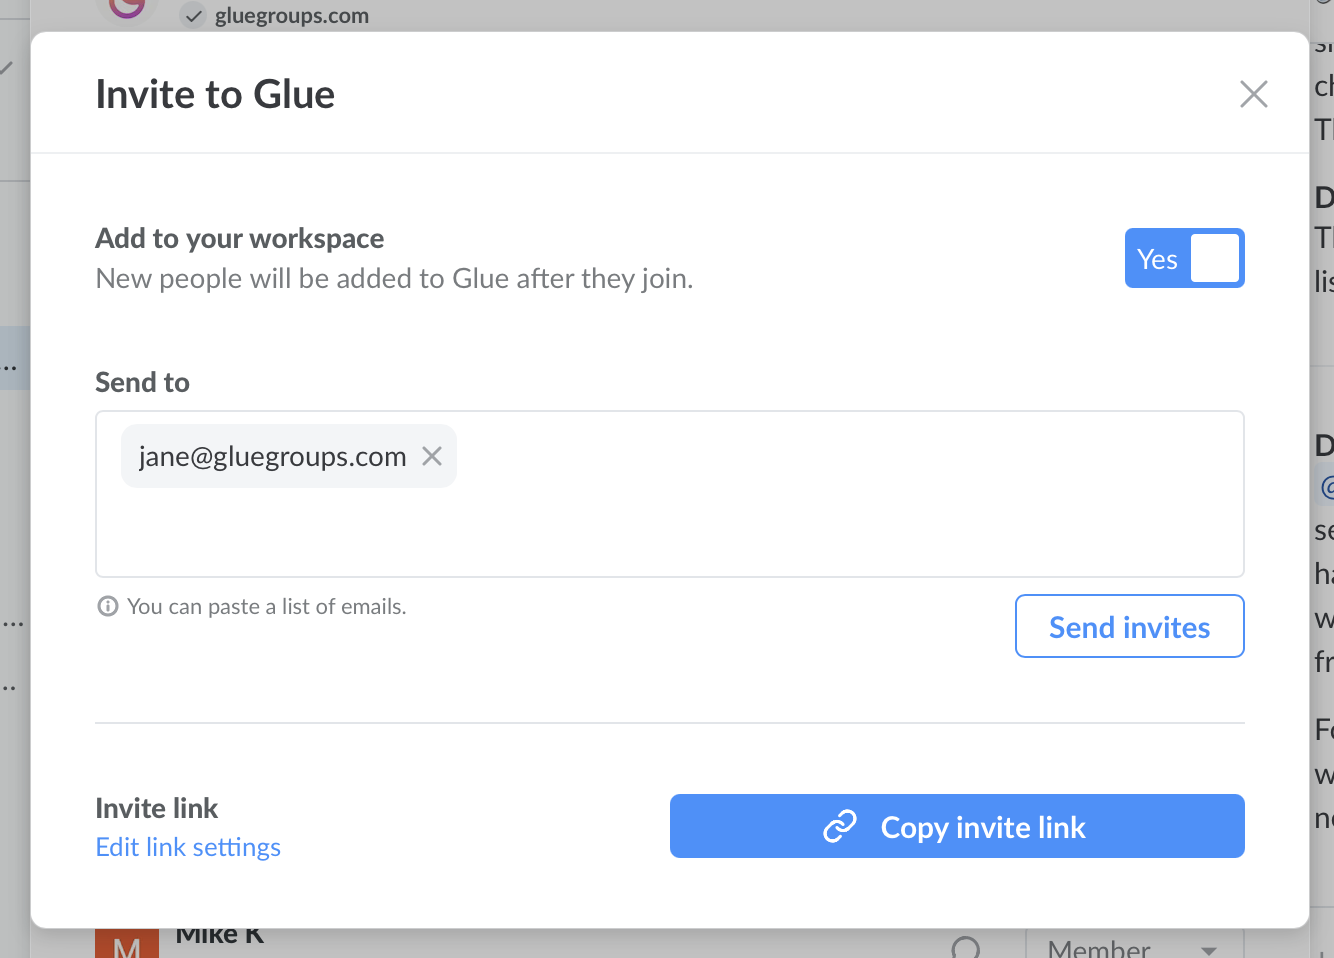
For admins, this menu can be accessed from your workspace settings menu, under Members. There's a button that says "Add a member."
#### **There are two main ways to invite team members**
* **Copy and send the invite link** - anyone can join the workspace when they click on the link.
* **Copy and paste the email addresses** of your teammates into the **Send to** field to invite them to your workspace. You can paste multiple email addresses at once and there is no limit to workspace size.
{% hint style="warning" %}
Ensure that the "Add to your workspace" button is toggled to "Yes" if you want people with your email domain to be invited into your workspace rather than just invited to use the Glue app.
{% endhint %}
{% hint style="info" %}
Anyone in the workspace can invite new members from the Create (+) button by selecting "Invite your team."
{% endhint %}
## Remove Users from the Workspace
* Search for the user you need to remove
* Click the dropdown arrow that lists them as an admin or member
* Select "Remove User"
## Enabling SAML-based Single Sign-On (SSO)
Admins can connect any compatible identity provider—like Okta or Azure AD—to streamline authentication, automate user provisioning, and maintain full control over access. SSO is only available on our Enterprise plan. You can find SSO setup instructions [here](/for-admins/saml-sso.md).
{% hint style="info" %}
If your organization requires SSO for login, please contact the **Glue Support Team** about upgrading to the Enterprise plan.
{% endhint %}